Setting up AdGuard Home as a Docker Container on Synology NAS
In this guide, I’ll walk you through the steps to set up AdGuard Home (AGH) as a Docker container on a Synology NAS. This setup will allow you to use AGH both inside and outside of your home network.
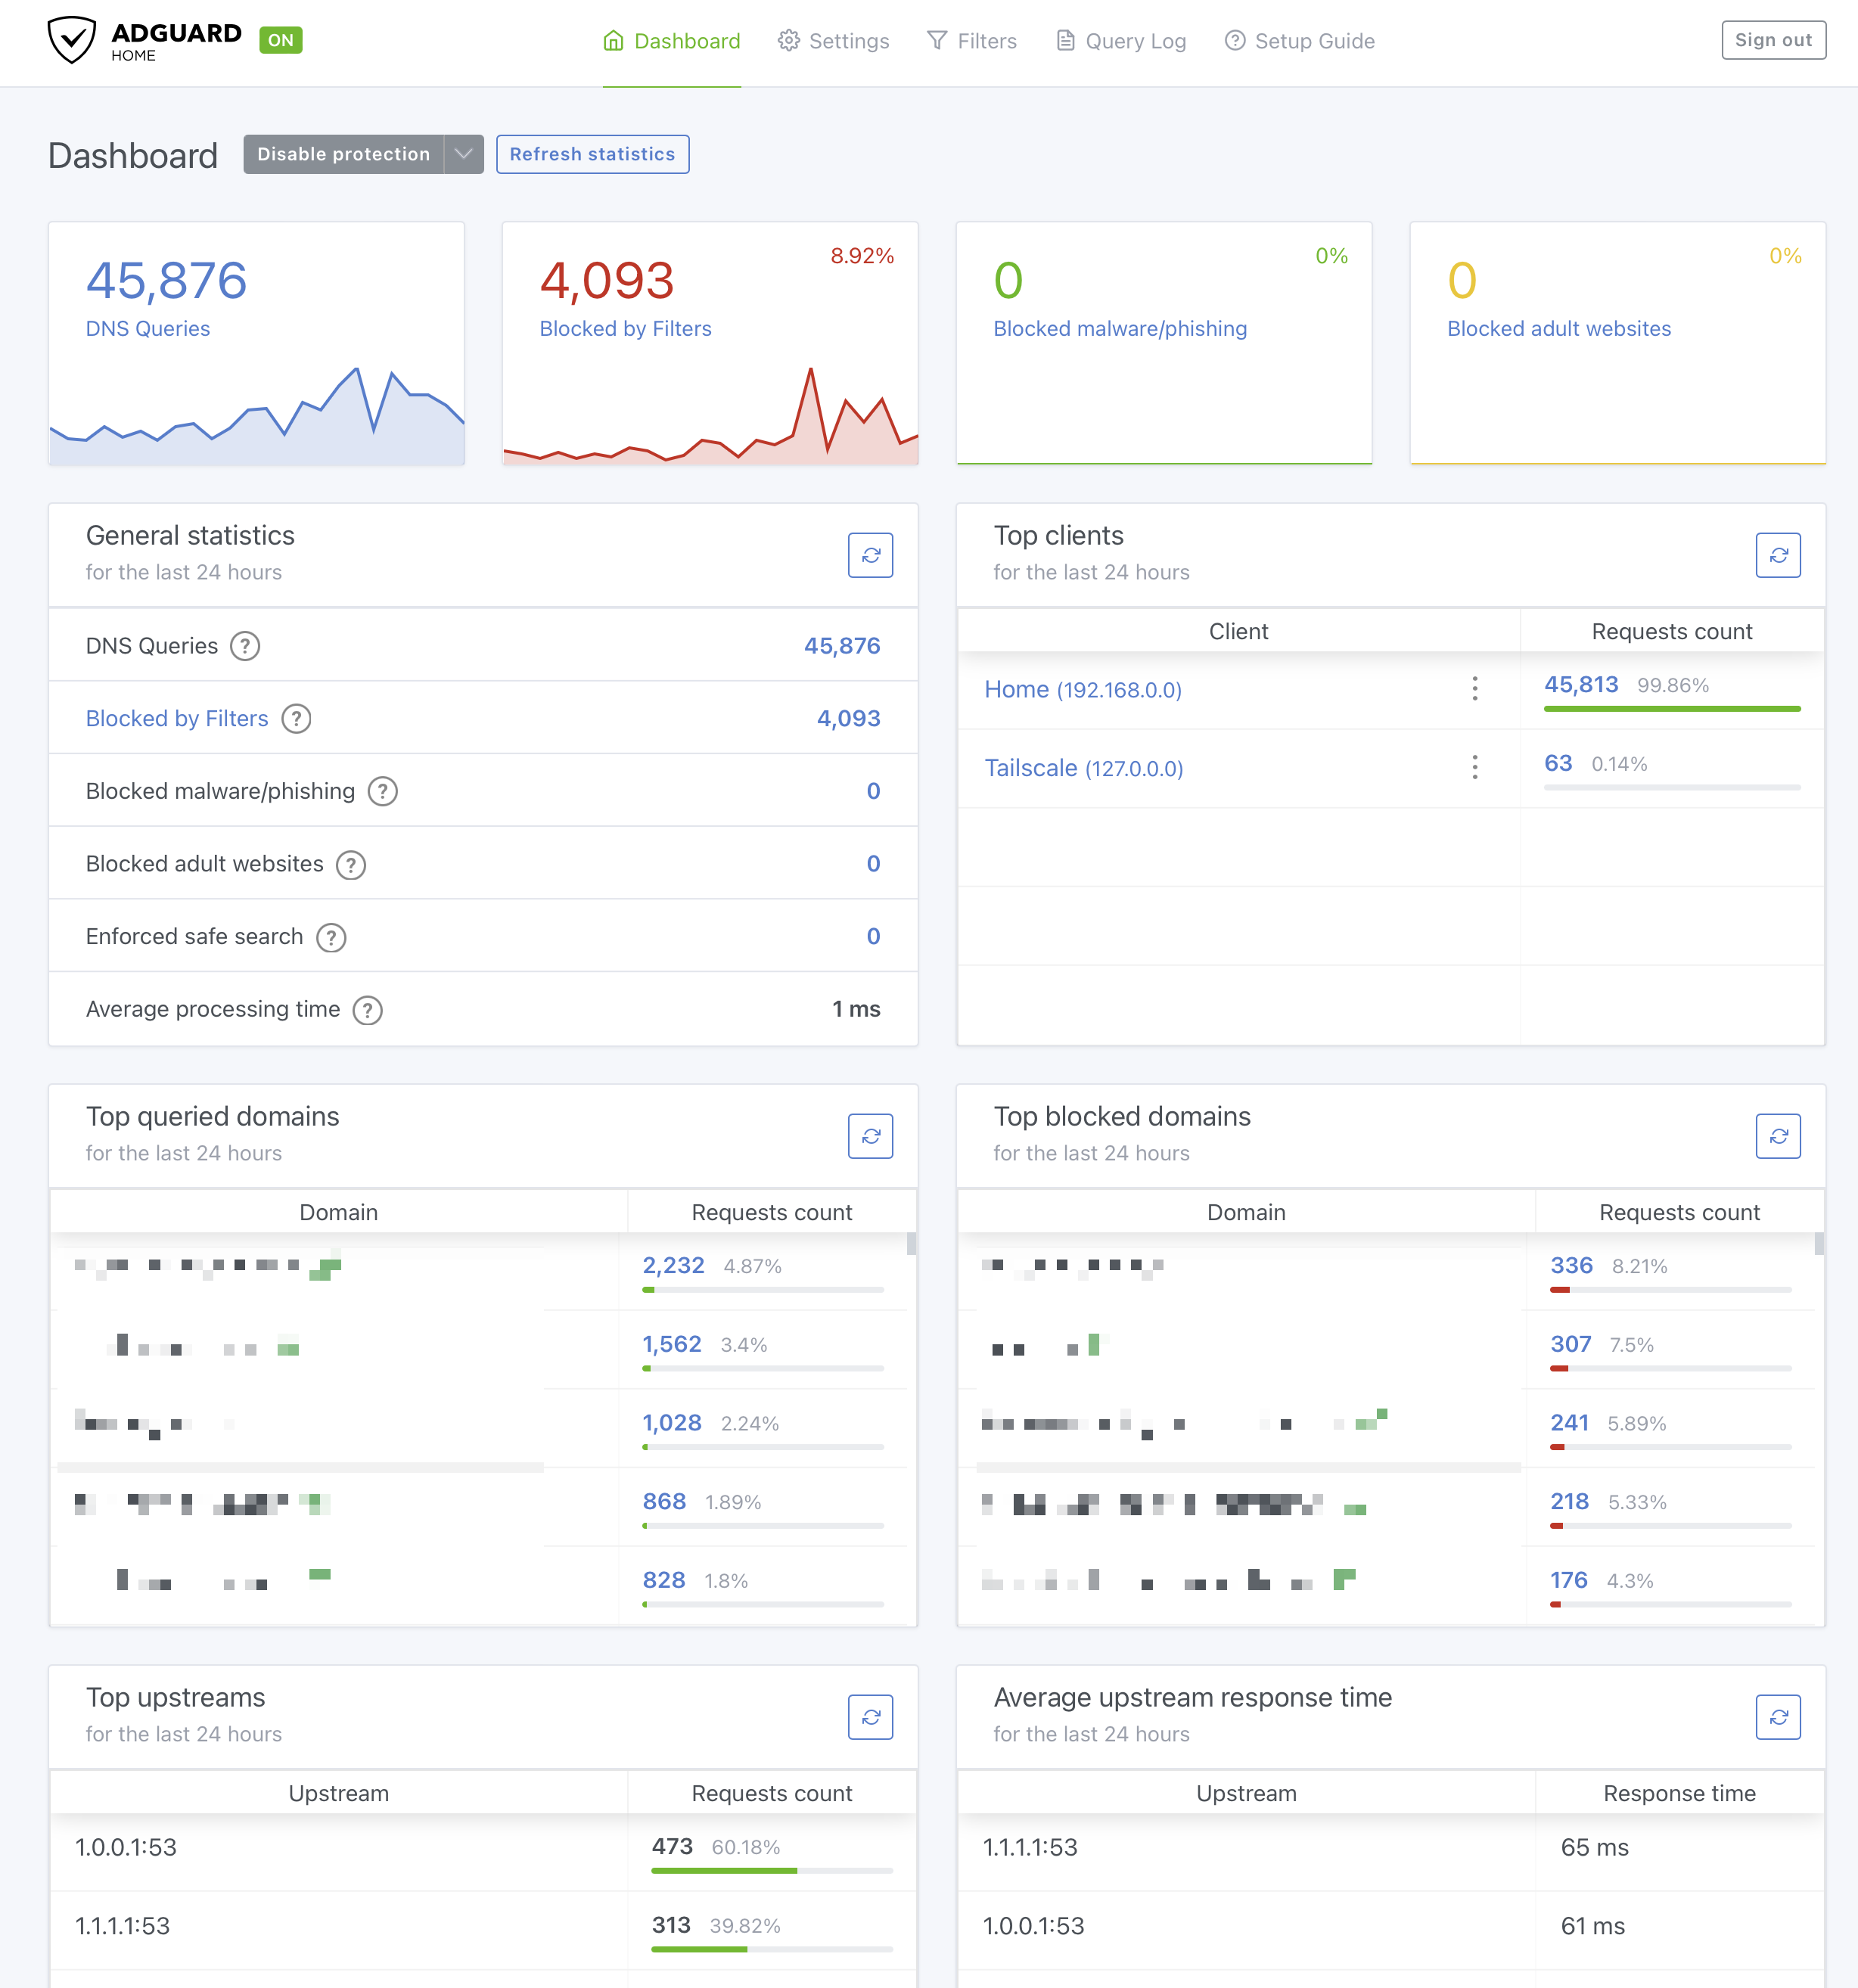
AdGuard Home is a network-wide DNS server that blocks ads and trackers for all devices on your network. It filters unwanted content before it reaches your devices, eliminating the need for individual ad blockers. With customizable rules and open-source flexibility, it offers comprehensive protection and can be installed on various platforms, including Raspberry Pi.
Prerequisites
- Basic Docker setup running on your Synology NAS (users, permissions, folders)
- I highly recommend following the Synology | TRaSH Guides
The following steps assume you have a setup similar (ideally identical) to the one from the article linked above. The most important aspects are user permissions and folder structure.
Configuration
.env:
## Edit/update your settings that will be used for your docker-compose
## This will only work if you follow exactly the path structure in the Guide!
COMPOSE_PROJECT_NAME=trash-guides
## Global Settings
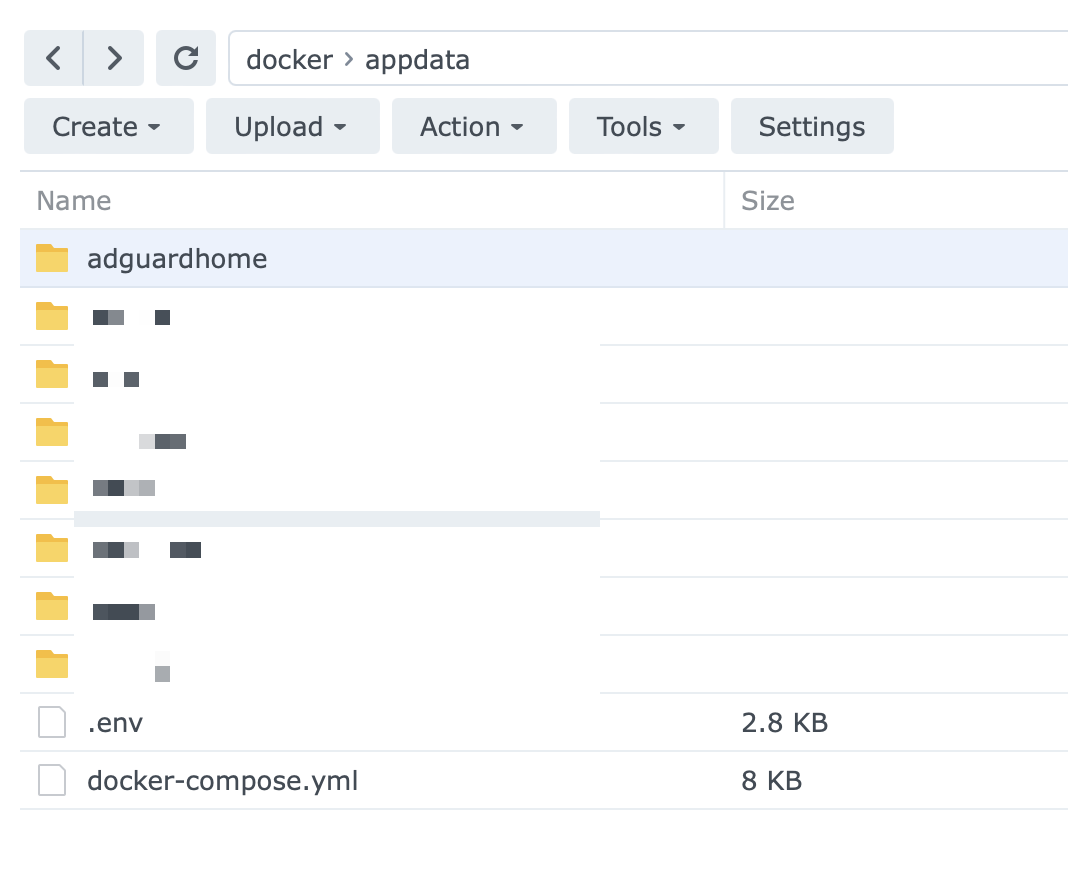
# Change "/volume1/docker/appdata" to your config path
DOCKERCONFDIR=/volume1/docker/appdata
# Change "/volume1/data" to your library + torrent/usenet downloads path
DOCKERSTORAGEDIR=/volume1/data
# Find your PUID/PGID through SSH, run in terminal: id $user
# Change $user to the user you created if needed
PUID=XXXX
PGID=YYY
# Other app-specific settings and variables
# ...
This setup doesn’t use any environment variables specific to AGH. The key thing is to set PUID and PGID correctly.
docker-compose.yml:
version: "3.2"
services:
  adguardhome:
    image: adguard/adguardhome:latest
    container_name: adguardhome
    network_mode: host
    volumes:
      - ${DOCKERCONFDIR}/adguardhome/work:/opt/adguardhome/work
      - ${DOCKERCONFDIR}/adguardhome/conf:/opt/adguardhome/conf
    restart: unless-stopped
    environment:
      - PUID=${PUID}
      - PGID=${PGID}
      - TZ=${TZ}

# Other containers
# ...
Folder structure
Initial Setup
After running the container for the first time, complete the initial AGH setup:
- When asked to choose the network interface for DNS requests, select “All Interfaces”.
- Switch the Web Interface port to 3000 if it’s not already set.
- Set credentials for your admin account.
If you encounter issues, refer to this guide.
Local Network Setup
To use AGH as your DNS server:
- Set it on your router (preferred method).
- If router modification isn’t possible, set it manually for each device on your home WiFi network. Here’s a guide for iOS.
Use your Synology’s local network IP address. Update your DHCP settings to ensure your Synology’s local IP address doesn’t expire.
With this setup, you’ll see the benefits of AGH whenever you’re connected to your home network.
Remote Setup
To use AGH when not on your home network, there are several options:
- Dynamic DNS (DDNS) and port forwarding
- Setting up a VPN server on your NAS
- Using Cloudflare Tunnel
- Tailscale (the method used in this guide)
Tailscale is a modern, user-friendly virtual private network (VPN) solution that leverages the WireGuard protocol to create secure, peer-to-peer connections between devices. It simplifies network configuration by eliminating the need for traditional VPN servers and complex firewall rules.
To set up Tailscale:
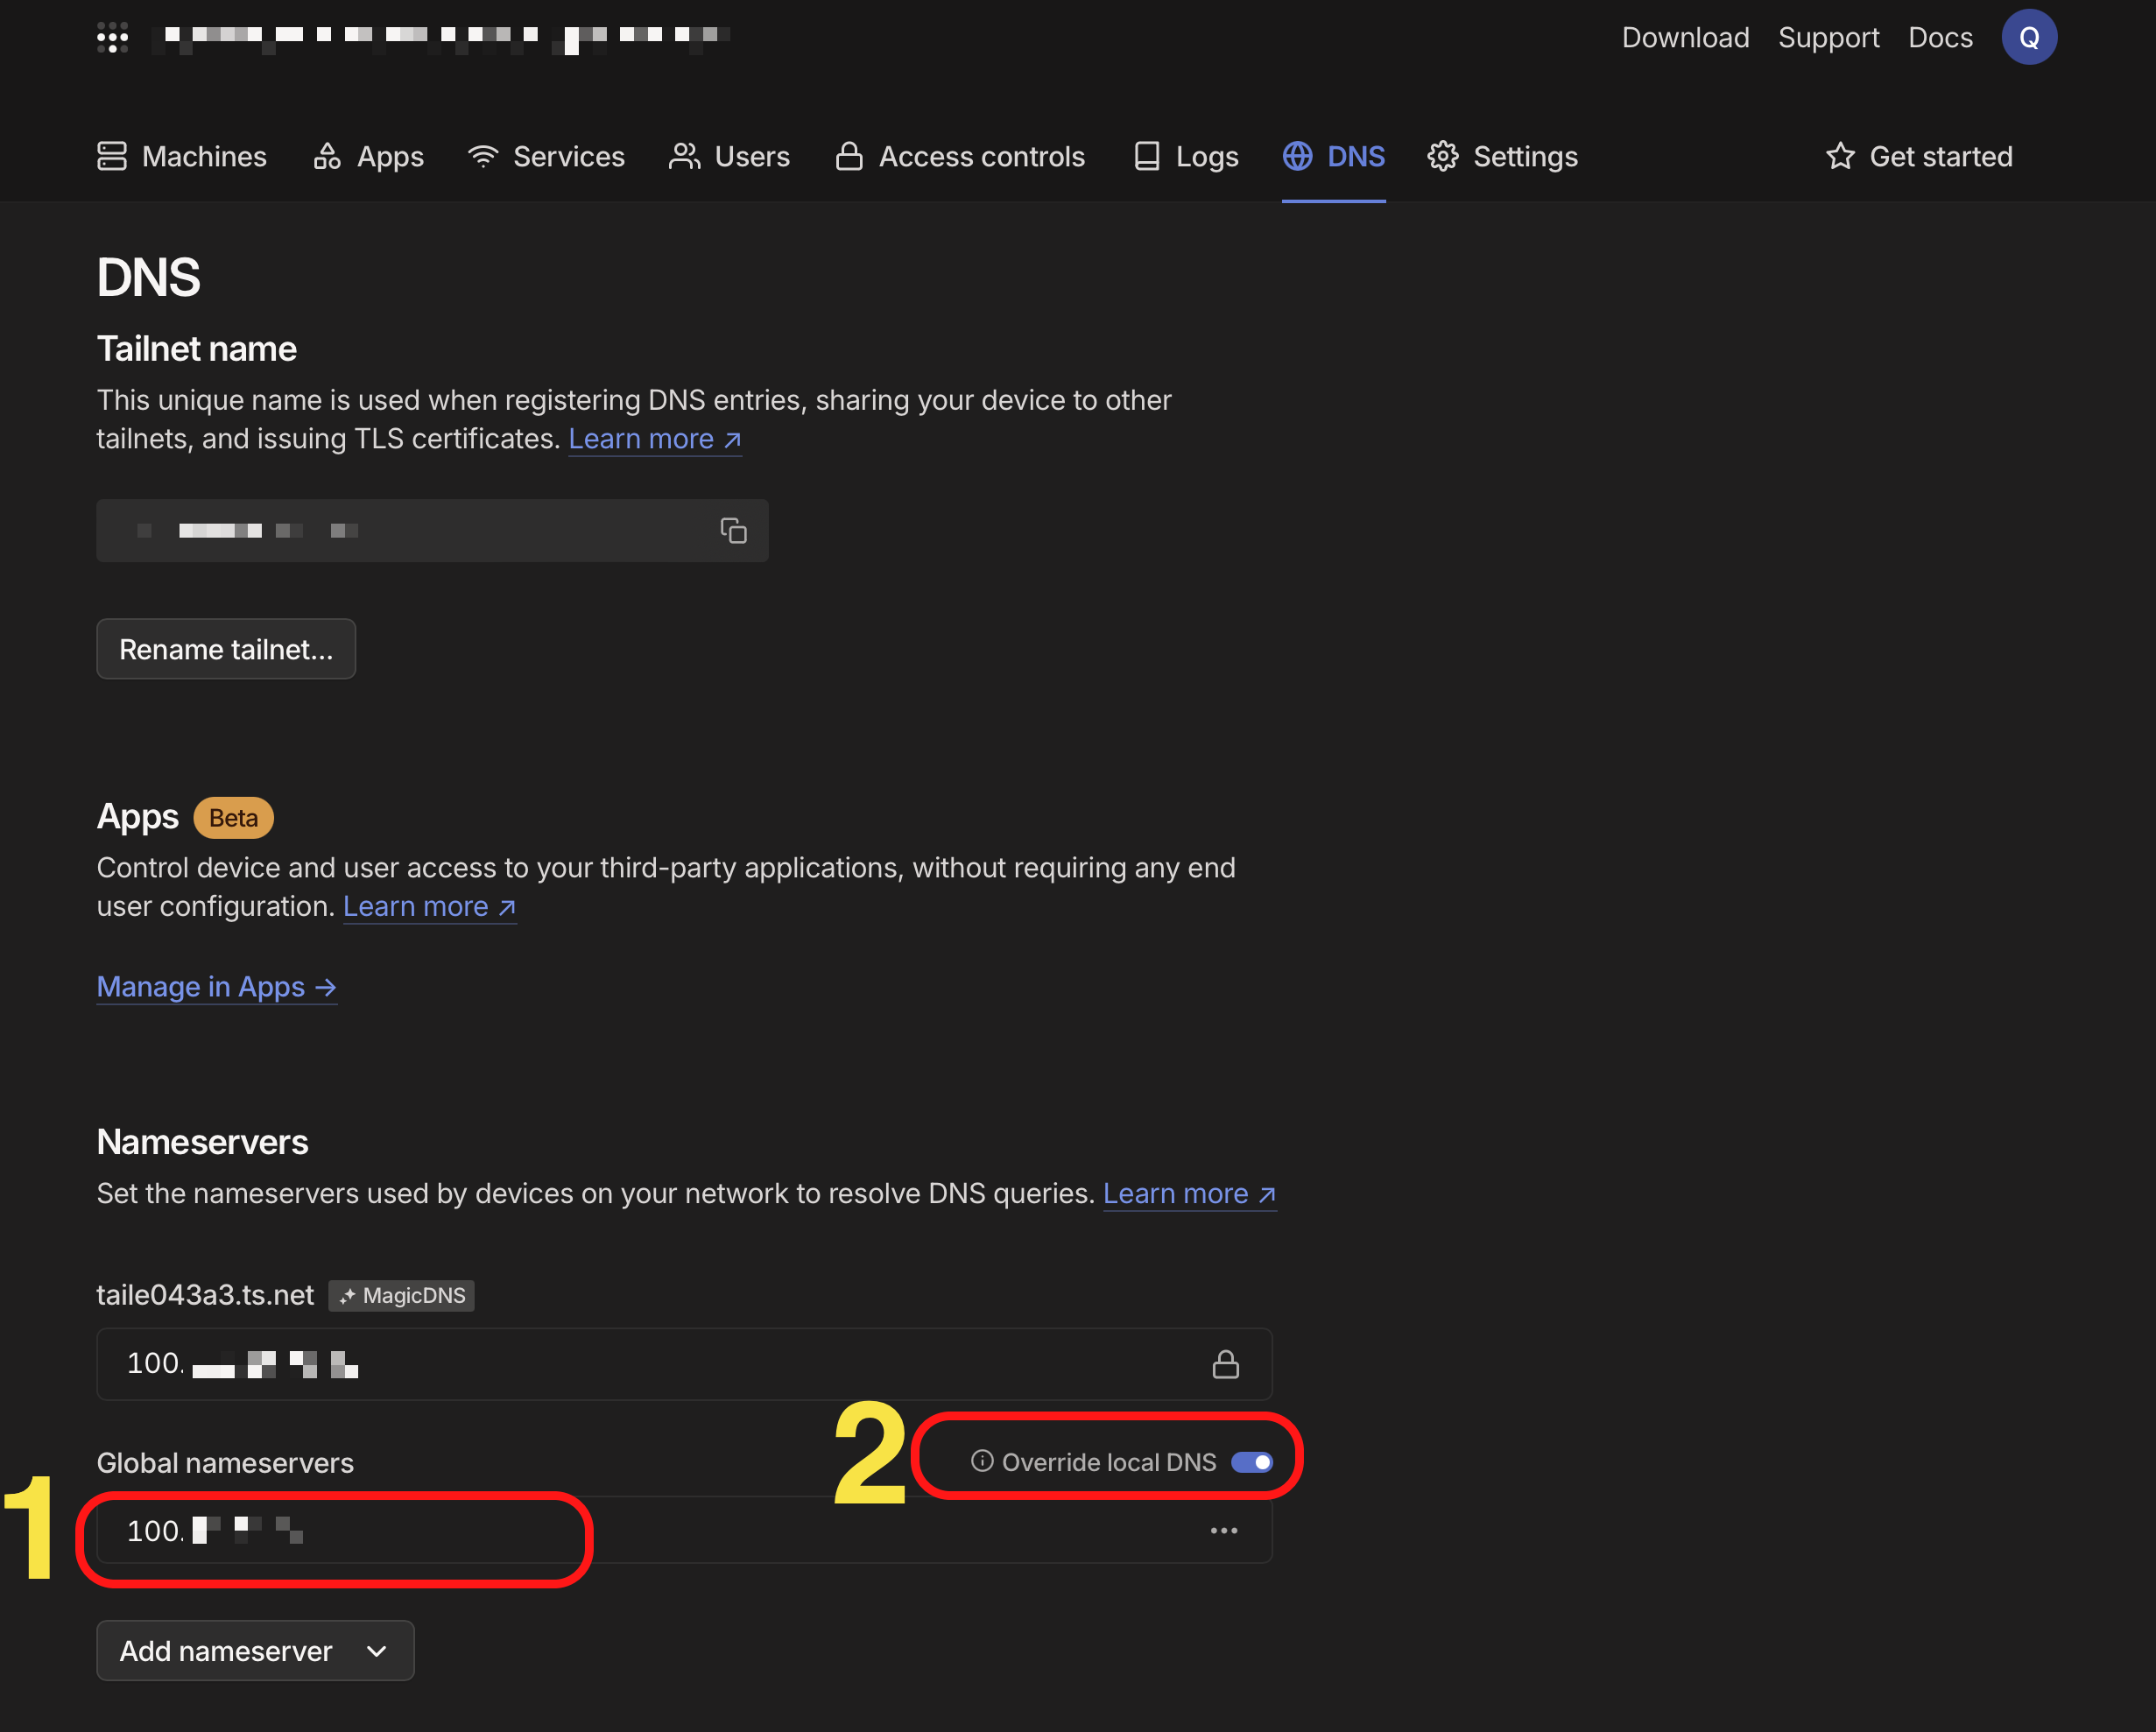
- Set custom DNS in Tailscale admin panel (your Synology’s tailnet IP address)
- Enable “override local DNS”
- Set up Tailscale on all devices you plan to use outside your home network
- Set up VPN On-Demand
With these steps, your device will automatically connect to your Tailscale mesh network, which will use AGH as a DNS server.
Cleanup
For Safari users: Consider disabling Advanced Tracking and Fingerprinting Protection, as it can override local DNS settings and interfere with AGH. More details on this issue can be found here.
Note: Client names may not resolve properly due to Docker’s host network mode. If you find a solution to this issue, please share!